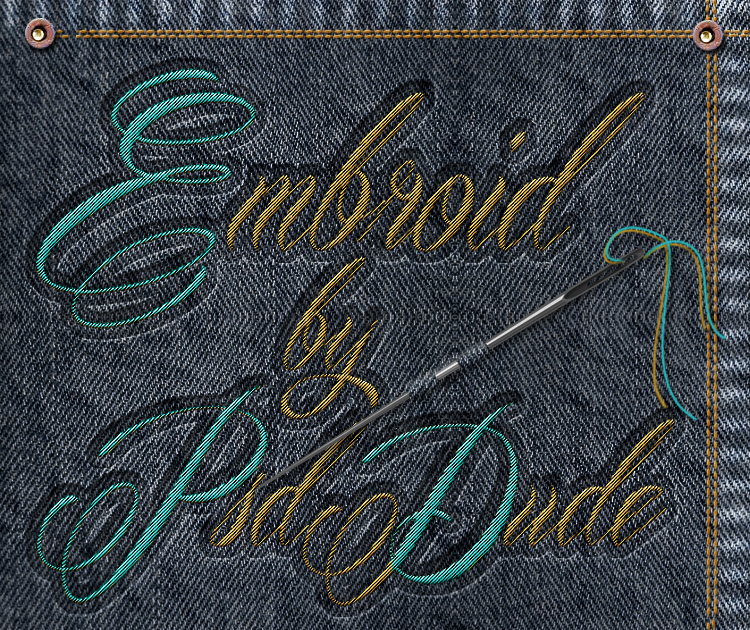
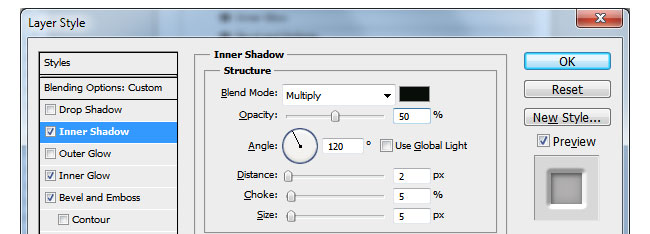
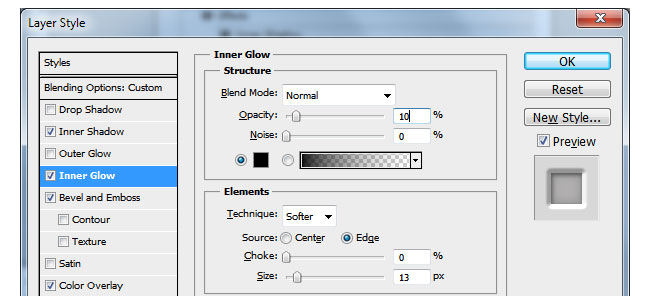
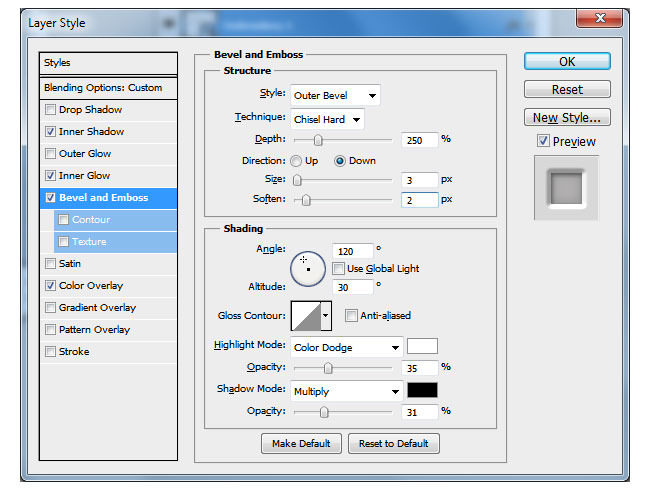
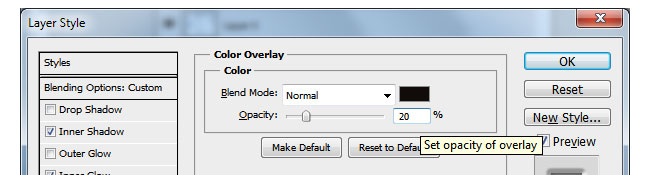
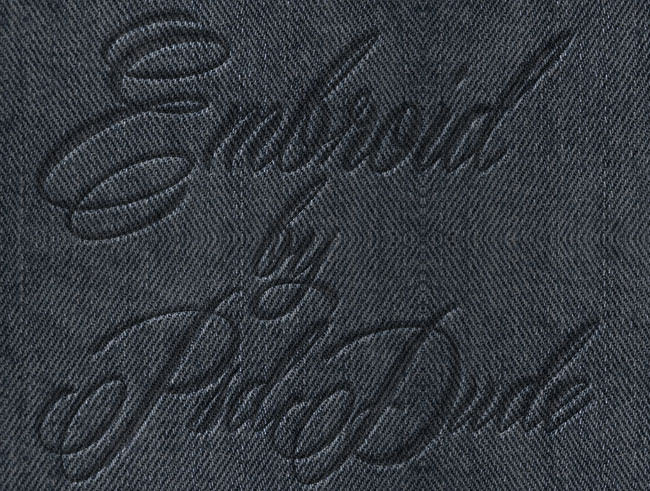
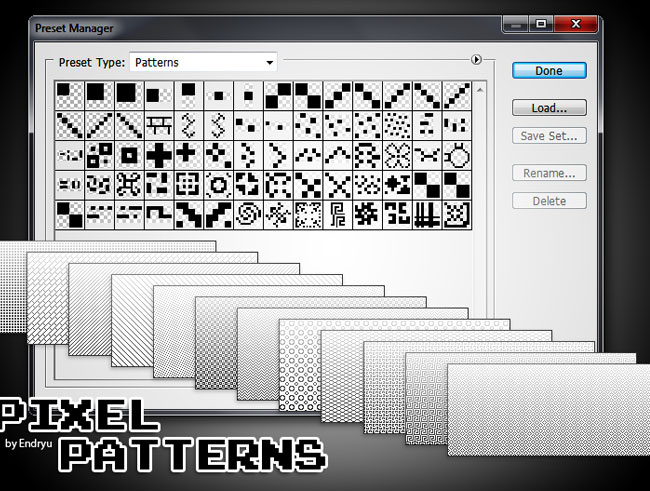
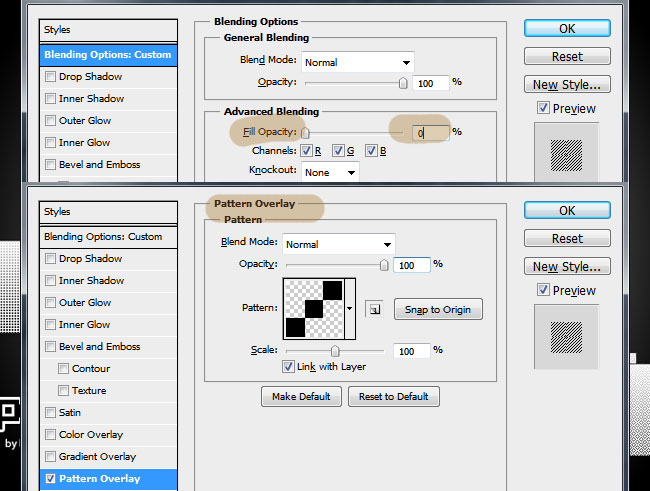
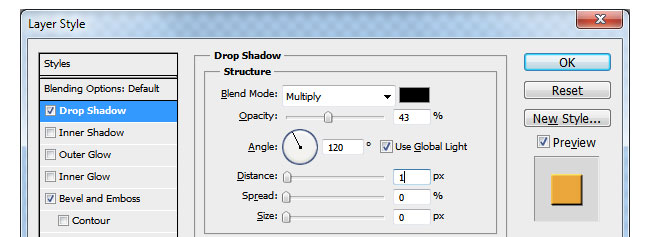
There are tons of unique ways of arranging and designing type you can find on Search Engine. But sometimes, you may find it difficult to look for some of the highest quality photoshop tutorials using search engines. As most of time, almost all tutorials would label themselves to be good, high quality or even the best photoshop tutorial you can find. When searching through all these tutorials, your time is wasted.

In order to save your time, here I'll give you list of Best Photoshop Text Effects Tutorials.
1. Create a Spectacular Grass Text Effect in Photoshop
Cool looking grass-text effect using a photo of grass, the pen tool and a bit of patience.

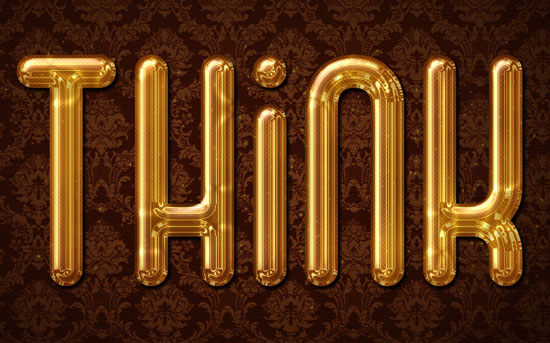
2. Elegant Glossy Gold Text Effect
This tutorial will show you an easy way to create a luxurious super glossy golden text effect using Layer Styles, a Filter, and a simple brush.

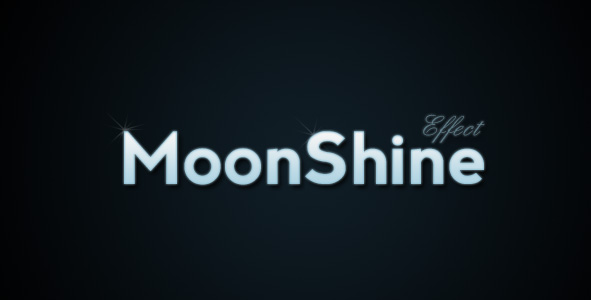
3. Moon Shine Text Effect
This Text Effect Quickie will show you how to easily create a soft glowing moon-like text.

4. Smooth Glass Type
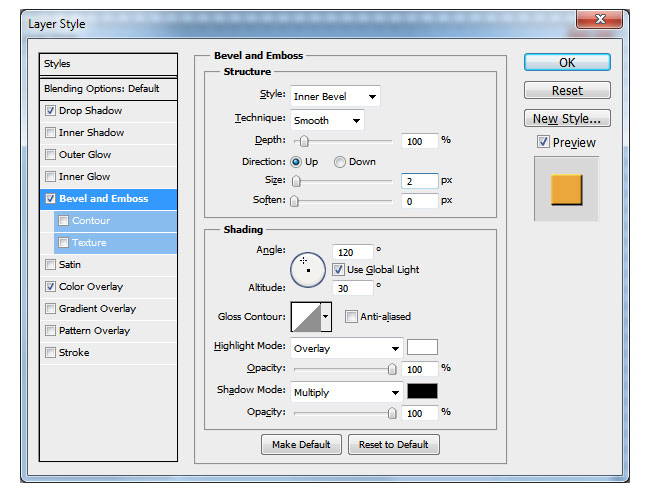
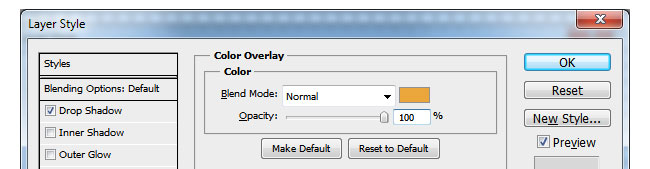
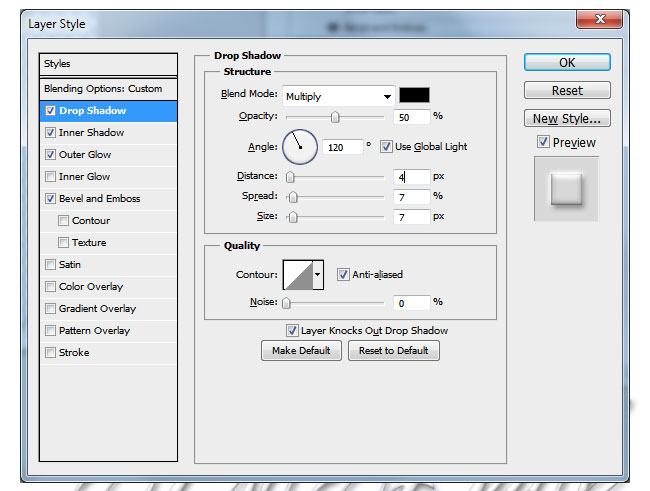
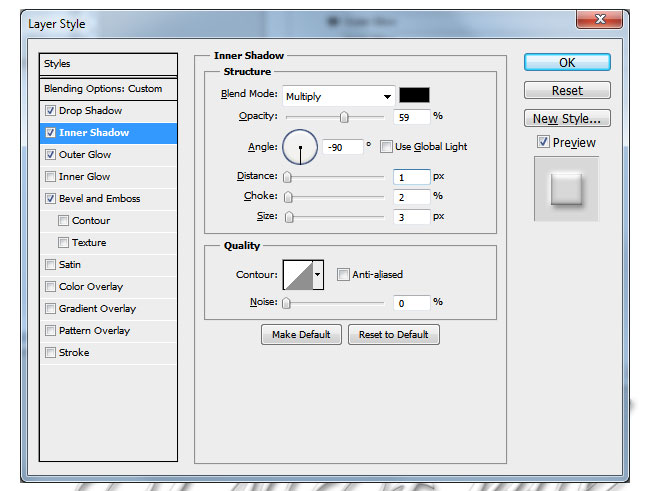
Here's a quick way to create some nice looking translucent glass type that'll work great on any background, made completely with layer styles.

5. Reflective Liquid Type
Tutorials on creating metal type abound online, as do variations on simple liquid effects.

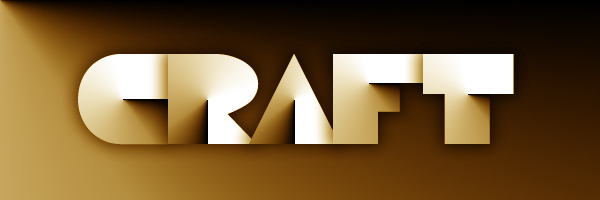
6. Papercraft Text Effect
Tutorial on creating papercraft text effect.

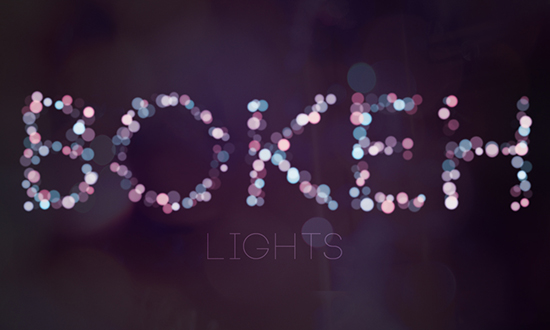
7. Simple Bokeh Text Effect
This tutorial will show you a super easy way to create a dazzling beautiful bokeh text effect, using a simple brush and a layer effect.

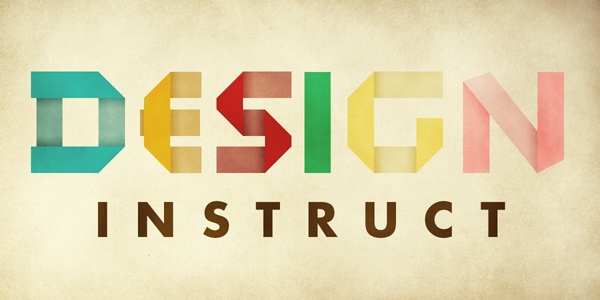
8. Retro Folded Typography
In this Photoshop tutorial, we�re going to create retro-looking text that seems like it�s constructed using folded strips of paper.

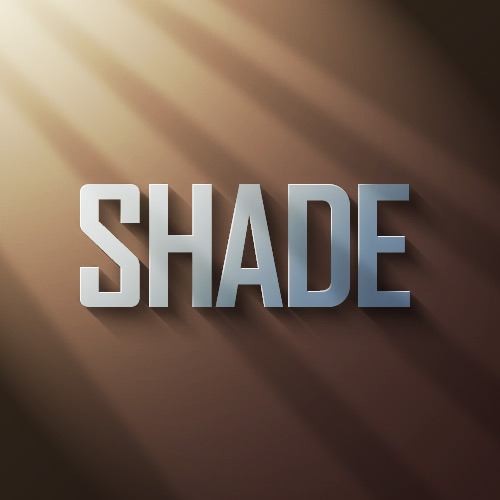
9. Using Light and Shade to Bring Text to Life
In this tutorial we are going to take some very basic principles of light and shade to make a rather impressive-looking text effect.
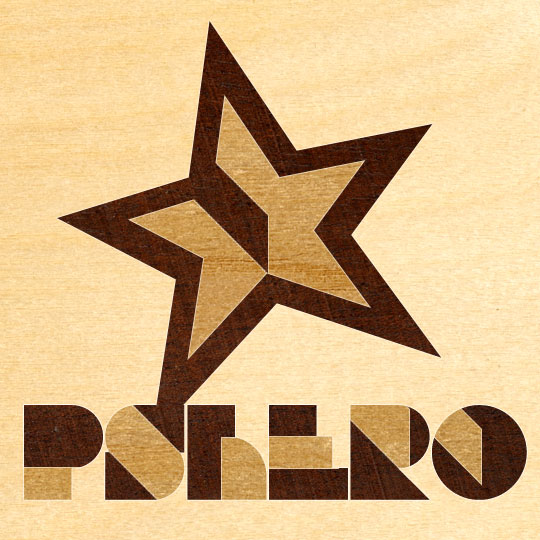
10. Wood Inlay Text
How to create a wood inlay effect using wood textures, layer masks and a few creative selection techniques.

11. Create a Candy Flavored Text
In this quick tip tutorial we will explain how to create a candy cane-style text effect in Photoshop.

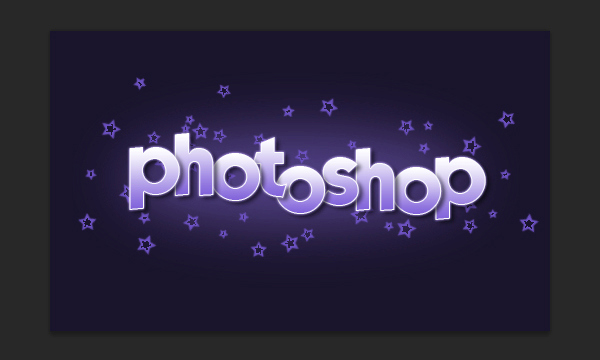
12. Simple Styled Text with Stars Effect
This Photoshop tutorial will show a simple way to create a nice text effect using Layer Styles, then modify some brush settings to add stars to the background.

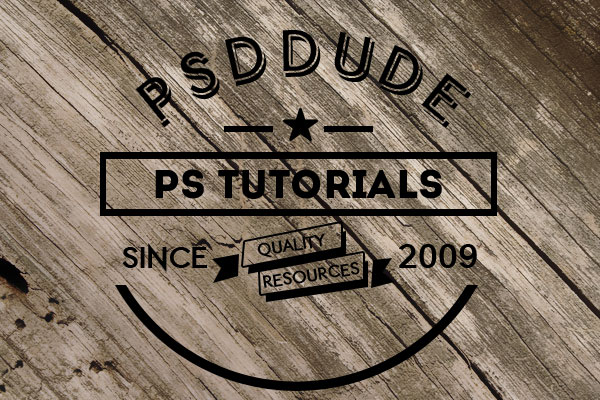
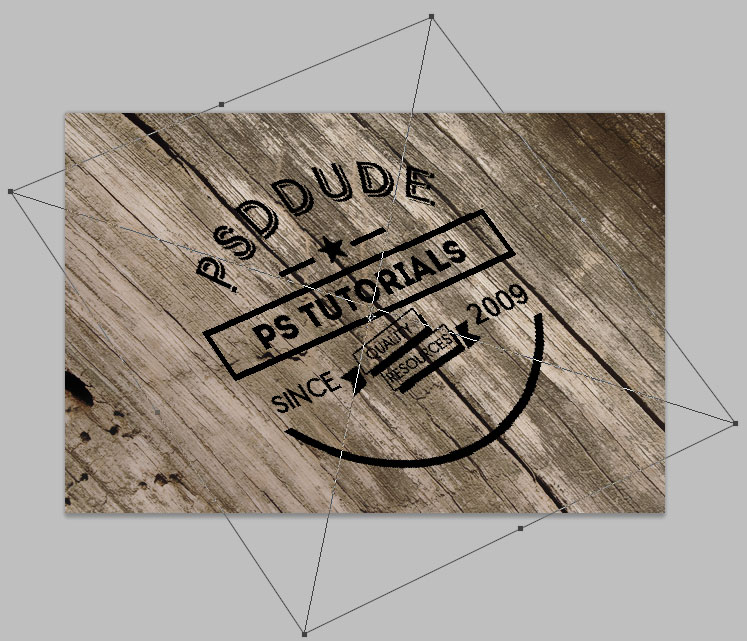
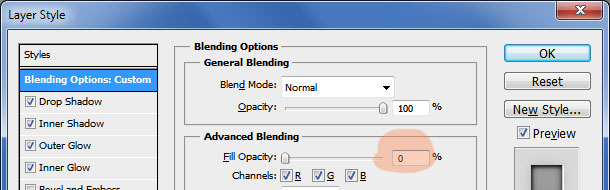
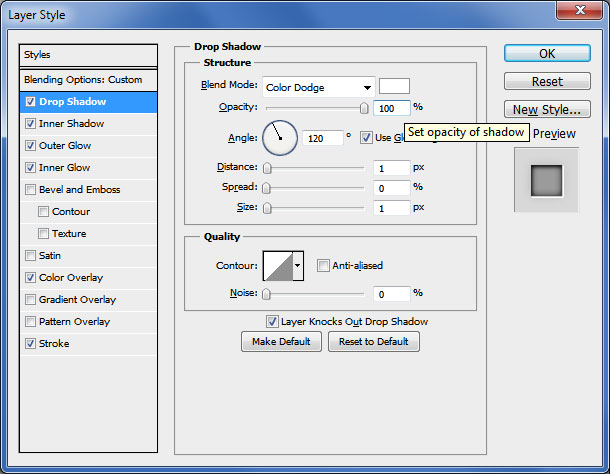
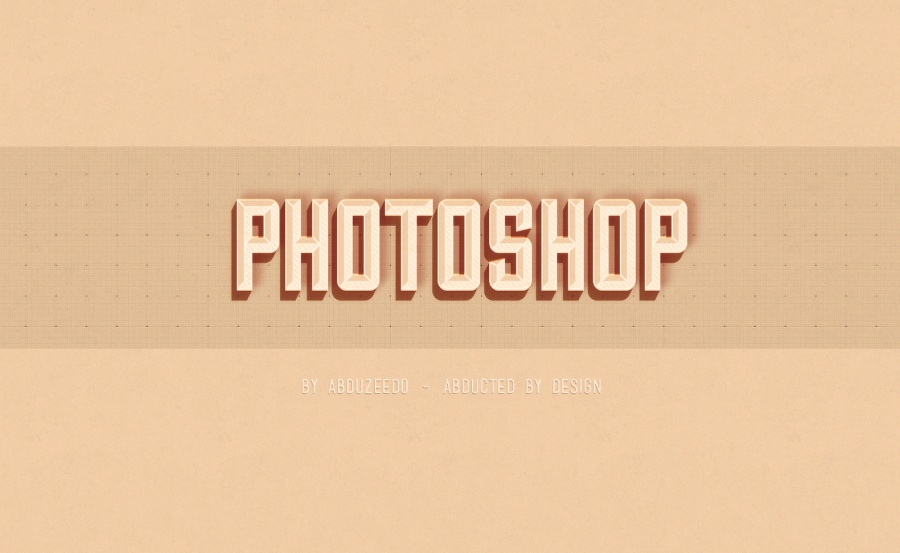
13. Hipster Text Effect
In this tutorial will show you how to create a simple text effect with a very trendy hipster look. We will use just basic filters and layer styles to achieve the effect.

Thanks for visit and hopefully it usefull.

In order to save your time, here I'll give you list of Best Photoshop Text Effects Tutorials.
1. Create a Spectacular Grass Text Effect in Photoshop
Cool looking grass-text effect using a photo of grass, the pen tool and a bit of patience.
2. Elegant Glossy Gold Text Effect
This tutorial will show you an easy way to create a luxurious super glossy golden text effect using Layer Styles, a Filter, and a simple brush.
3. Moon Shine Text Effect
This Text Effect Quickie will show you how to easily create a soft glowing moon-like text.
4. Smooth Glass Type
Here's a quick way to create some nice looking translucent glass type that'll work great on any background, made completely with layer styles.

5. Reflective Liquid Type
Tutorials on creating metal type abound online, as do variations on simple liquid effects.

6. Papercraft Text Effect
Tutorial on creating papercraft text effect.
7. Simple Bokeh Text Effect
This tutorial will show you a super easy way to create a dazzling beautiful bokeh text effect, using a simple brush and a layer effect.
8. Retro Folded Typography
In this Photoshop tutorial, we�re going to create retro-looking text that seems like it�s constructed using folded strips of paper.
9. Using Light and Shade to Bring Text to Life
In this tutorial we are going to take some very basic principles of light and shade to make a rather impressive-looking text effect.
10. Wood Inlay Text
How to create a wood inlay effect using wood textures, layer masks and a few creative selection techniques.
11. Create a Candy Flavored Text
In this quick tip tutorial we will explain how to create a candy cane-style text effect in Photoshop.
12. Simple Styled Text with Stars Effect
This Photoshop tutorial will show a simple way to create a nice text effect using Layer Styles, then modify some brush settings to add stars to the background.
13. Hipster Text Effect
In this tutorial will show you how to create a simple text effect with a very trendy hipster look. We will use just basic filters and layer styles to achieve the effect.
Thanks for visit and hopefully it usefull.